Installing a single din touch screen in your vehicle can significantly enhance your driving experience, offering features such as navigation, multimedia playback, and hands-free communication. While the installation process may seem daunting, it can be accomplished with the right tools and guidance. This comprehensive step-by-step guide will walk you through the entire process, ensuring that you can successfully install your new touch screen without any hassle.

Table of Contents
Understanding Single DIN Stereos
Gathering the Necessary Tools and Materials
Preparing Your Vehicle for Installation
Removing the Old Stereo
Wiring the New Touch Screen
Installing the Single DIN Touch Screen
Testing Your New Stereo
Final Touches and Tips
Conclusion
1. Understanding Single DIN Stereos
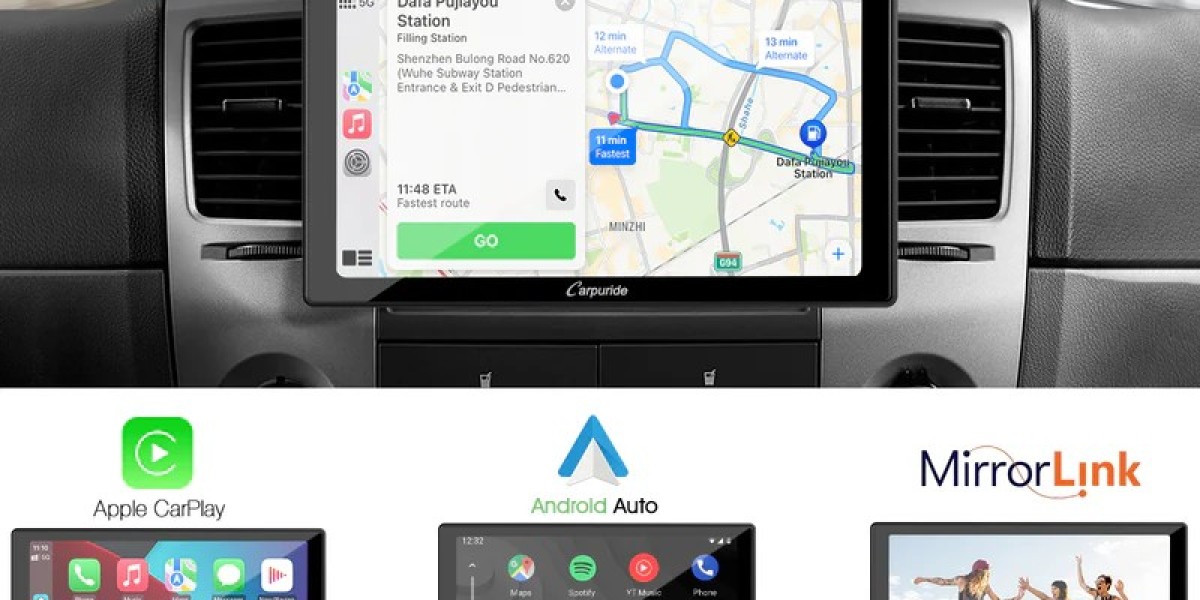
1.1. What is a Single DIN Touch Screen?
A single DIN stereo is a standard size for car audio head units, measuring approximately 7 inches wide by 2 inches high. Touch screen models provide an intuitive interface for controlling audio, navigation, and other features, making them a popular choice for modern vehicles.
1.2. Benefits of Upgrading to a Touch Screen
Upgrading to a single DIN touch screen can enhance your driving experience by providing:
Improved Navigation: Access to GPS navigation directly on your dashboard.
Multimedia Options: Compatibility with Bluetooth, USB, and other media sources for music playback.
Hands-Free Communication: Integrated phone features for safer driving.
2. Gathering the Necessary Tools and Materials
Before starting your installation, gather the following tools and materials:
2.1. Tools Required
Screwdrivers (Phillips and flathead)
Wire cutters/strippers
Crimping tool
Socket wrench set
Dash removal tool (optional but helpful)
2.2. Materials Needed
Single DIN touch screen stereo
Wiring harness (compatible with your vehicle)
Dash kit (if necessary)
Antenna adapter (if required)
Electrical tape
3. Preparing Your Vehicle for Installation
3.1. Safety Precautions
Before beginning the installation, ensure your safety by:
Disconnecting the Battery: Remove the negative terminal of the battery to prevent electrical shorts.
Working in a Well-Lit Area: Ensure your workspace is well-lit to see small components clearly.
3.2. Familiarizing Yourself with Your Vehicle’s Dashboard
Consult your vehicle’s manual to understand how to remove the dashboard panels and locate the factory stereo. Take note of any special clips or fasteners that may need to be handled differently.
4. Removing the Old Stereo
4.1. Removing Dashboard Panels
Using your dash removal tool (or flathead screwdriver), carefully pry off any panels surrounding the stereo. Be cautious not to damage clips or surfaces during this process.
4.2. Unscrewing the Old Stereo
Once the dashboard panels are removed, locate the screws securing the old stereo. Use your Phillips screwdriver to remove these screws and gently pull the stereo from the dash.
4.3. Disconnecting Wiring
With the old stereo removed, carefully disconnect the wiring harness and antenna plug from the back of the unit. Make sure to keep track of any screws or components for later use.
5. Wiring the New Touch Screen
5.1. Preparing the Wiring Harness
If you purchased a wiring harness, connect it to the wiring of your new touch screen. If not, you will need to splice the wires from the new unit to the factory harness using your wire cutters and crimping tool.
5.2. Color-Coding Connections
Most wiring harnesses follow a standard color-coding system. Common connections include:
Red: Power
Black: Ground
Yellow: Battery
Blue: Amplifier turn-on
Green/Gray: Speaker wires (left/right)
Refer to your stereo's installation manual for specific wiring instructions.
5.3. Securing Connections
Use electrical tape to secure all connections and ensure there are no exposed wires that could cause a short circuit. A proper connection will prevent audio issues and maintain a reliable power source.
6. Installing the Single DIN Touch Screen
6.1. Inserting the New Stereo
With the wiring connected, gently insert the new touch screen stereo into the dash opening. Ensure that all wires are tucked away neatly to prevent pinching.
6.2. Securing the Stereo
Use the screws removed from the old stereo to secure the new unit in place. If your new stereo came with a mounting kit, follow the included instructions to ensure a proper fit.
6.3. Reattaching Dashboard Panels
Once the stereo is secured, carefully reattach any dashboard panels that were removed during installation. Ensure all clips are in place and panels are fitted correctly.
7. Testing Your New Stereo
7.1. Reconnecting the Battery
Reconnect the negative terminal of the battery and ensure it is secure.
7.2. Powering On the Stereo
Turn on your vehicle and power on the new touch screen stereo. Check for any visible issues, such as display errors or sound problems.
7.3. Testing Features
Test all features, including:
Bluetooth Connectivity: Pair your phone and test calls and music streaming.
Radio Functionality: Scan for stations and check sound quality.
Navigation Features: If applicable, input a destination to ensure the GPS functions correctly.
8. Final Touches and Tips
8.1. Adjusting Settings
After confirming that the stereo is working correctly, take some time to adjust settings such as audio equalization, display brightness, and any personalized options your stereo offers.
8.2. Keeping Instructions Handy
Keep the user manual for your newtouch screen stereo in your glove compartment for reference. This will be useful for troubleshooting or exploring advanced features.
8.3. Seeking Professional Help
If you encounter difficulties or are unsure about any part of the installation, do not hesitate to consult a professional installer. It’s better to ensure everything is set up correctly than to risk damaging your vehicle or the stereo.
9. Conclusion
Installing a single DIN touch screen in your vehicle is a rewarding project that can enhance your driving experience significantly. By following this step-by-step guide, you can ensure a successful installation that provides you with navigation, entertainment, and connectivity on the road.
More Info : https://carpuride.com/