Concrete is one of the most durable and widely used building materials in the world. However, over time, even the toughest concrete surfaces can develop cracks, holes, and other imperfections. Whether you’re a homeowner looking to maintain your driveway or a DIY enthusiast tackling a new project, learning how to repair concrete can save you time and money. This guide will walk you through the basics of concrete repair, making it simple and accessible for beginners.
Understanding Concrete Damage
Before diving into repairs, it’s essential to understand why concrete cracks or deteriorates. Common causes of concrete damage include:
Temperature Changes: Expansion and contraction due to temperature fluctuations can create cracks over time.
Moisture Intrusion: Water can seep into concrete, freeze, and expand, leading to structural damage.
Heavy Loads: Excessive weight or pressure can weaken concrete surfaces, causing cracks or holes.
Poor Installation: Subpar workmanship or improper mixing ratios can result in weaker concrete prone to damage.
By identifying the root cause, you can address the problem effectively and prevent further damage.
Tools and Materials You’ll Need
To repair concrete successfully, gather the following tools and materials:
Concrete Mix or Patch: Choose a pre-mixed bag for small repairs or raw materials for larger projects.
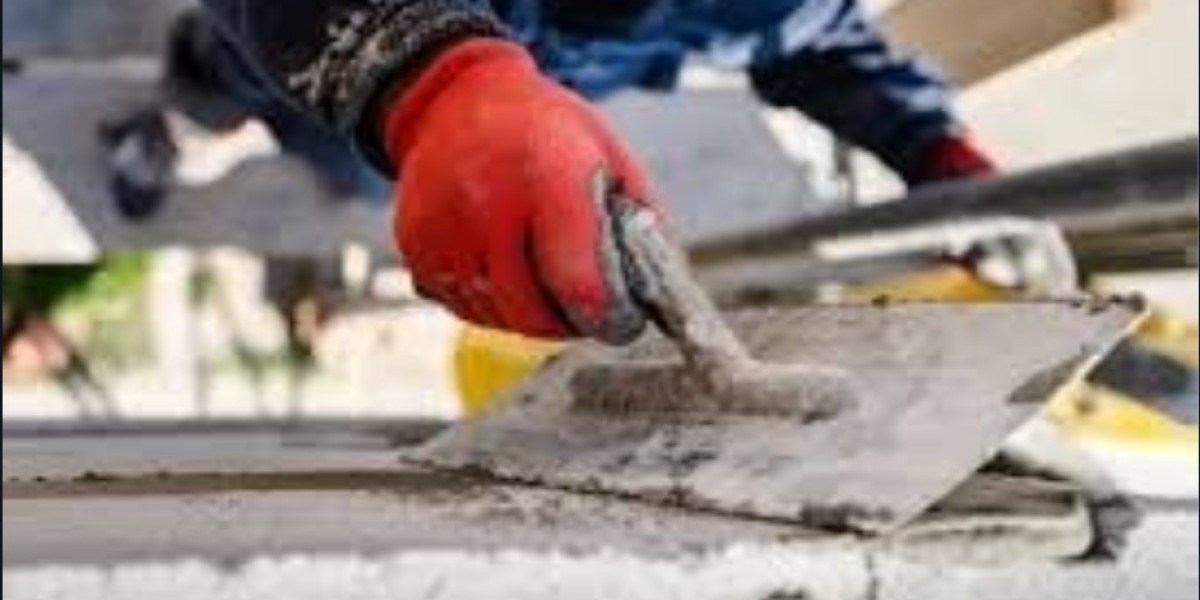
Trowel: For smoothing and leveling the surface.
Chisel and Hammer: To remove loose or damaged concrete.
Wire Brush: For cleaning the repair area.
Bucket and Mixing Tool: To prepare the concrete mix.
Protective Gear: Gloves, goggles, and a dust mask for safety.
Having these items on hand will ensure a smoother repair process.
Preparing the Area for Repair
Proper preparation is crucial for a durable and effective repair. Follow these steps:
Clean the Area: Remove dirt, debris, and loose concrete using a wire brush and vacuum.
Assess the Damage: Determine the size and depth of the crack or hole.
Remove Damaged Concrete: Use a chisel and hammer to eliminate any weak or crumbling sections.
Dampen the Surface: Wetting the area slightly can help the new concrete adhere better.
By thoroughly prepping the surface, you’ll create a solid foundation for your repair work.
Fixing Small Cracks
Small cracks, typically less than ¼ inch wide, are relatively easy to repair. Here’s how:
Fill the Crack: Use a concrete crack filler or repair caulk to fill the gap.
Smooth the Surface: Use a trowel to ensure the filler is level with the surrounding area.
Let It Cure: Allow the repair to dry completely, following the manufacturer’s instructions.
Tip: For hairline cracks, applying a concrete sealer can prevent water intrusion and further damage.
Repairing Larger Cracks
For cracks wider than ¼ inch, follow these steps:
Enlarge the Crack: Use a chisel to widen the crack slightly, creating a “V” shape. This helps the repair material bond more effectively.
Apply the Concrete Mix: Prepare the mix according to the package instructions and fill the crack.
Level and Smooth: Use a trowel to smooth the surface.
Curing Time: Cover the repair with plastic sheeting to retain moisture and allow it to cure slowly for maximum strength.
Fixing Holes in Concrete
Holes in concrete require a slightly different approach:
Clean and Prep: Remove debris and loose edges around the hole.
Apply Bonding Agent: Use a concrete bonding agent to improve adhesion.
Fill the Hole: Pour or pack the concrete mix into the hole, ensuring there are no air pockets.
Smooth and Finish: Level the surface with a trowel and allow it to cure as instructed.
Using Concrete Patching Compounds
Concrete patching compounds are ideal for quick and easy repairs. These pre-mixed solutions can save time and effort. Simply apply the compound to the damaged area, smooth it out, and let it dry. Note: Always check the product label for specific application and curing guidelines.
Tips for a Professional Finish
Blend the Edges: Feather the edges of your repair to match the surrounding concrete for a seamless look.
Add Texture: Use a broom or brush to create a textured surface if desired.
Seal the Surface: Apply a concrete sealer to protect the repaired area from moisture and wear.
Preventing Future Damage
To extend the life of your concrete surfaces, follow these preventive measures:
Seal Regularly: Apply a concrete sealer every few years to protect against water and stains.
Control Water Drainage: Ensure proper drainage to prevent water pooling on concrete surfaces.
Avoid Overloading: Limit heavy loads on concrete areas, especially driveways and patios.
Common Mistakes to Avoid
Skipping Surface Preparation: Proper cleaning and prep are critical for a lasting repair.
Using the Wrong Mix: Choose the right concrete mix for your specific repair needs.
Rushing the Curing Process: Allow adequate time for the concrete to cure to ensure strength and durability.
Conclusion
Repairing concrete may seem intimidating at first, but with the right tools, materials, and techniques, it’s a task that anyone can tackle. By understanding the causes of damage, preparing the area properly, and using the appropriate repair methods, you can restore your concrete surfaces to their former glory. Whether you’re fixing small cracks or filling larger holes, these tips will help you achieve a professional finish and protect your investment for years to come. So grab your tools and get started on your next concrete repair project today!


