Achieving smooth, hair-free skin has become easier and more accessible than ever before, thanks to the advancements in cosmetic technology. Among the many solutions available, laser hair removal stands out as one of the most effective and lasting methods for eliminating unwanted hair.
What Is Laser Hair Removal?
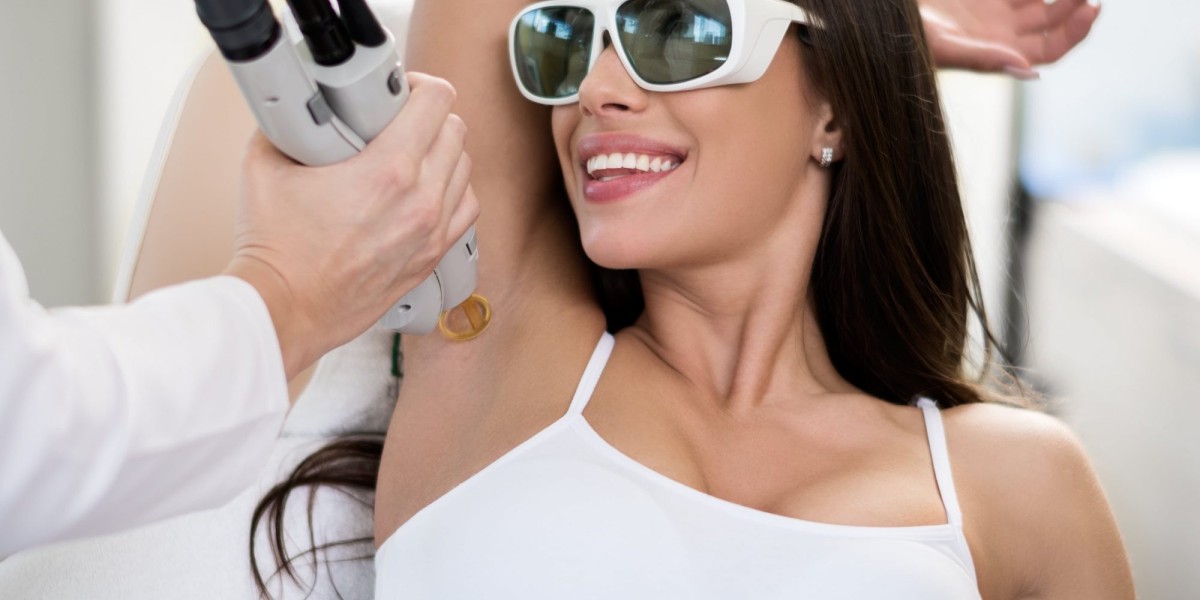
Laser Hair Removal in Islamabad is a non-invasive cosmetic procedure that uses concentrated light beams to target hair follicles, effectively reducing and eventually stopping hair growth in treated areas.
Safe technology: The laser precisely focuses on the pigment in hair follicles without damaging the surrounding skin.
Long-term results: With repeated sessions, hair growth is significantly reduced, offering smooth, maintenance-free skin.
Minimal downtime: Most clients return to their daily activities immediately after treatment.
This innovative solution appeals to both men and women who are tired of the repetitive hassle of shaving, waxing, or threading.
Why Choose Laser Hair Removal in Islamabad?
If you’re considering a permanent solution for unwanted hair, Laser Hair Removal in Islamabad offers a reliable, safe, and cost-effective choice. At Enfield Royal Cosmetic, we take pride in offering packages that cater to a variety of needs without compromising on quality.
Cost-effective in the long run: Compared to the lifetime expense of razors, wax treatments, or threading sessions, laser hair removal is a one-time investment with lasting benefits.
Tailored packages: We provide flexible pricing based on the area treated—whether it’s small zones like the upper lip or larger areas like the back or legs.
Expert care: Our treatments are conducted by qualified professionals using FDA-approved equipment to ensure safety and efficacy.
People in Islamabad are increasingly turning to this method, not only for the convenience but also for the exceptional results it offers.
How Affordable Packages Make Laser Hair Removal Accessible
One of the biggest concerns for those considering laser hair removal is the cost. However, Enfield Royal Cosmetic addresses this by offering packages designed for different budgets.
Bundle deals: We provide discounts when multiple areas are treated or when clients book a full series of sessions in advance.
Customized plans: Our team creates treatment packages based on hair type, skin tone, and desired outcomes, ensuring you pay only for what you need.
Flexible payment options: We aim to make treatments accessible with installment plans and promotional discounts throughout the year.
These packages help make laser hair removal a feasible option for individuals who may have previously thought it out of reach.
What Areas Can You Treat With Laser Hair Removal?
Laser hair removal is suitable for almost any part of the body where unwanted hair grows.
Face: Common areas include the upper lip, chin, and sideburns.
Body: Arms, underarms, chest, back, abdomen, and legs are frequently treated zones.
Sensitive zones: Bikini line and full Brazilian laser hair removal are also popular choices.
Each of these areas can be included in affordable packages, giving clients the flexibility to choose treatments that match their personal grooming goals.
The Procedure: What to Expect
Understanding what happens during a laser hair removal session helps set realistic expectations and eases any anxiety about the process.
Consultation first: Before beginning treatment, we assess your skin type, hair color, and medical history to create a customized plan.
Quick sessions: Depending on the area, treatments can take anywhere from 10 minutes to an hour.
Minimal discomfort: Our advanced cooling technology ensures that the procedure is as comfortable as possible, with most clients describing the sensation as a mild snap of a rubber band.
At Enfield Royal Cosmetic, our priority is making sure you are informed, comfortable, and satisfied with every step of your journey.
Safety and Effectiveness of Affordable Laser Hair Removal
Many assume that affordability means compromising on quality—but that’s not the case at Enfield Royal Cosmetic.
Certified specialists: All treatments are performed by trained and certified professionals who understand the nuances of laser technology and skin care.
Top-tier equipment: We use state-of-the-art lasers that are suitable for various skin tones and hair types, delivering consistent, safe results.
Strict safety protocols: Our clinic follows stringent hygiene and safety standards to protect your skin’s health during and after each session.
With our affordable packages, you can be confident that you are receiving premium care without overspending.
How Many Sessions Will You Need?
Laser hair removal is not a one-time procedure—multiple sessions are required for optimal results.
Hair growth cycles: Since hair grows in stages, laser treatment is most effective during the active growth phase.
Average sessions: Most people require 6 to 8 sessions spaced a few weeks apart to see significant hair reduction.
Maintenance: Occasional touch-up sessions may be needed to maintain smooth skin over time.
Our packages at Enfield Royal Cosmetic are designed with these needs in mind, ensuring you receive comprehensive care from start to finish.
Preparing for Laser Hair Removal
Proper preparation can make your laser hair removal experience smoother and more effective.
Avoid sun exposure: Tanned skin can increase the risk of side effects, so stay out of the sun for at least two weeks prior to your appointment.
Shave, don’t wax: The laser targets hair roots, so shaving is recommended 24 hours before your session, while waxing or plucking should be avoided.
Skip skincare products: On the day of treatment, avoid lotions, perfumes, or deodorants in the area to be treated.
Our team provides detailed pre-treatment instructions during your consultation to help you prepare adequately.
Aftercare Tips for Long-Lasting Results
Taking care of your skin after laser hair removal ensures optimal healing and long-lasting smoothness.
Soothe the skin: Apply aloe vera or a gentle, cooling lotion to calm any redness or sensitivity.
Stay out of the sun: Protect your skin with sunscreen and avoid direct sunlight on treated areas for a few weeks.
Avoid heat: Skip hot baths, saunas, or strenuous exercise for at least 24 hours post-treatment to minimize irritation.
We guide you through aftercare best practices so you can enjoy your results with confidence.
Why Choose Enfield Royal Cosmetic for Affordable Laser Hair Removal?
When it comes to affordable laser hair removal packages, Enfield Royal Cosmetic stands out in Islamabad for delivering both value and excellence.
Trusted reputation: Our clinic is known for providing top-quality care at competitive prices, making aesthetic treatments accessible to more people.
Personalized service: From consultation to aftercare, we tailor each treatment plan to your unique needs and preferences.
Ongoing promotions: We frequently offer special discounts and package deals, helping you achieve your grooming goals without financial strain.
If you’re ready to experience smooth, hair-free skin at a price that fits your budget, visit Enfield Royal Cosmetic—your trusted partner for laser hair removal in Islamabad.