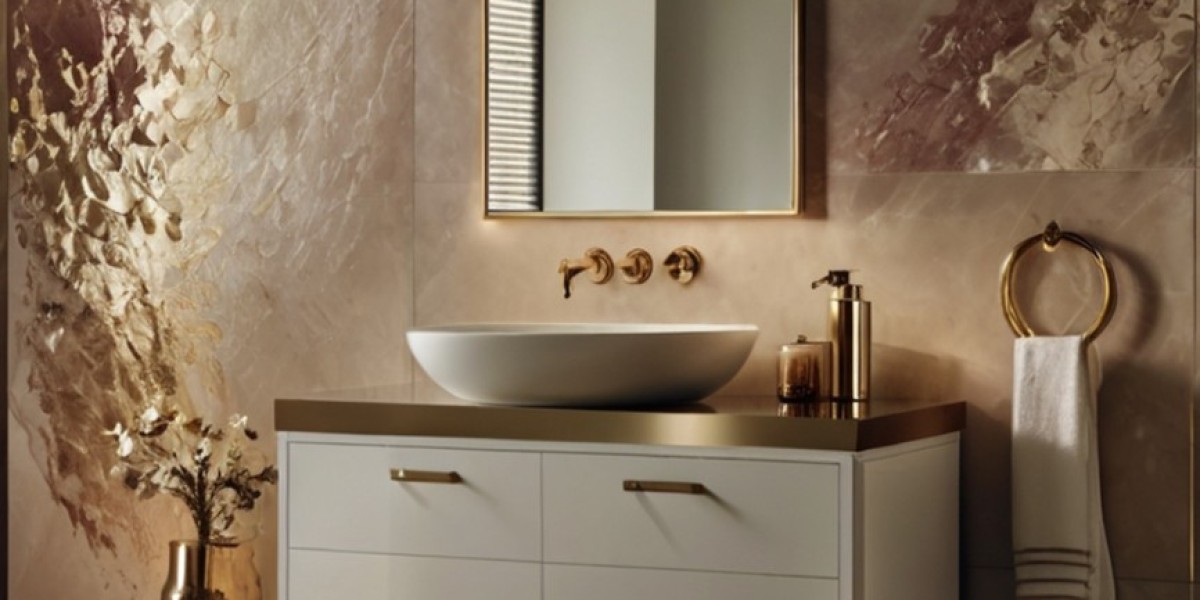
Designing an accessible bathroom is more than complying with regulations — it's about making a safe, comfortable, and inclusive environment for all, no matter the age or mobility. Whether you're designing for aging in place, a family member with a disability, or just looking ahead to the future, accessibility can be blended seamlessly with style and function. Here's your roadmap to creating a functional, inclusive bathroom with clever design strategies — all in 600 words.
1. Adopt Universal Design Principles
Universal design refers to designing an environment that's accessible to all individuals, without having to make any adjustments. In the bathroom, this becomes smooth navigation, safety, and ease-of-use features that complement the overall look.
Some important principles are:
Barrier-free access to showers and tubs
Lever handles over knobs
Smooth floor space for mobility
Non-slip flooring to prevent falls
A bathroom that is universally designed doesn't have to be clinical-looking — considerate decisions can lead to a beautiful, sophisticated room that's also accessible.
2. Design a Roomy and Practical Floor Plan
An accessible bathroom must have sufficient space for wheelchairs, walkers, or assist devices to comfortably maneuver. For a wheelchair, try for at least 60 inches of turning radius in the primary area.
Floor plan tips:
Put the toilet, vanity, and shower/tub at accessible heights and locations.
Install grab bars within reach of the toilet and shower.
Install sliding or pocket doors rather than swinging doors to conserve space and enhance access.
If you're constructing new or doing major remodeling, make doorways at least 36 inches wide to fit mobility devices.
3. Install a Walk-In or Roll-In Shower
A zero-threshold shower — or roll-in or curbless shower — is one of the most valuable accessibility upgrades. It permits smooth entry and exit without having to step over a barrier.
Features to include:
A handheld showerhead with adjustable height bar
A built-in bench or fold-down seat
Anti-slip tiles or textured flooring
Grab bars for balance and stability
Make sure the shower floor slopes towards the drain without a curb to prevent water accumulation.
4. Select Accessible Toilets and Vanities
Toilets must be comfort height (17 to 19 inches high) to minimize strain sitting or standing. Raised toilet seats or arm supports may also be helpful for some individuals.
For vanities:
Select a wall-mounted or open-bottom vanity so wheelchair users can roll underneath.
Install the sink between 29–34 inches off the floor.
Utilize easy-to-hold hardware and single-lever faucets for simplicity.
Provide accessible storage like pull-out drawers and open shelving at lower levels.
5. Install Grab Bars and Handrails
Grab bars are essential assistance for occupants with low mobility or balance problems. Install them:
By the toilet
Inside and just outside the shower or bathtub
Along walls where occupants can be helped to move or turn
Select grab bars that coordinate with your bathroom's finish — many contemporary styles coordinate with towel bars and other hardware for a unified appearance.
6. Enhance Lighting and Visibility
Adequate lighting is crucial in any bathroom but particularly in accessible bathrooms. Include:
Bright, even lighting near mirrors and sinks
Motion-sensor or touchless lighting for convenience
Non-glare finishes on countertops and floors to minimize visual disorientation
Clear color contrasts between walls, floors, and fixtures to assist users with low vision in moving around safely
Natural light, where possible, is also good for mood and visibility.
Final Thoughts
An accessible bathroom is not merely functional — it's about dignity, independence, and long-term comfort. With thoughtful planning and careful design decisions, you can create a space that works for everyone in your home beautifully, regardless of age or ability.
Resources:
https://www.howto-tips.com/how-to-money-saving-tips-in-2024/pros-and-cons-acrylic-bathtubs
https://linktr.ee/gracify.co.uk


