You finally found the perfect design. Maybe it’s a client’s logo as a PNG, a family photo as a JPEG, or an embroidery file in PES from a friend with a different machine. There’s just one problem: your industrial embroidery machine speaks a different language. It requires a .DST file, the universal format beloved by Tajima and many other commercial machines. So, how do you bridge this digital gap? The journey from these formats to a stitch-ready DST file isn't always a simple click of a button. It requires a specific tool: a reliable DST File Converter. But not all conversion paths are created equal.
The best method for you depends entirely on what you’re starting with and what you need the final design to do. Converting an existing PES embroidery file is a straightforward translation. Converting a JPEG or PNG image is a complex act of creation called digitizing. Let's break down the most effective methods for each scenario, weighing the pros and cons so you can choose the right path for your project.
Understanding Your Starting Point: It’s Not All the Same
First, it's crucial to understand the fundamental difference between your source files.
PES: This is an embroidery file format, primarily for Brother machines. It already contains stitch data—information about stitch type, direction, and color. Converting PES to DST is like translating a book from English to Spanish; the core story (the stitch data) remains, but you're changing the language (the format) so a different machine can understand it.
JPEG & PNG: These are image files. They are made of pixels, not stitches. They contain no information about how an embroidery machine should create this design. Converting a JPEG/PNG to DST is like asking a composer to write a symphony based on a painting. It requires interpretation, artistry, and technical skill. This process is called digitizing.
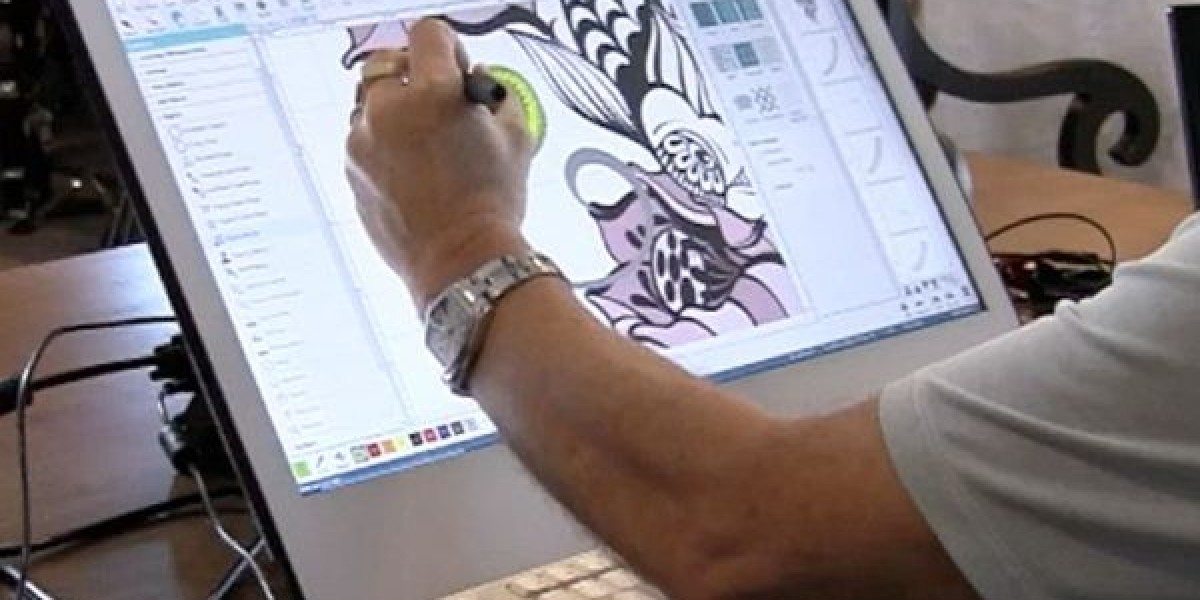
Method 1: Using Dedicated Embroidery Software
This is the most powerful and versatile method, offering different levels of control depending on your software's capabilities.
How it works: You import your source file into embroidery software, which then allows you to either directly save it in a new format (for PES) or use auto-digitizing tools to convert it (for JPEG/PNG).
Best for: Hobbyists and small businesses who regularly need to convert and edit files.
The Process:
For PES to DST: This is simple. High-quality software like Wilcom Hatch, Embrilliance, or Brother's PE-Design can open a PES file and immediately "Save As" a DST file. The software handles the translation seamlessly, preserving all stitch data.
For JPEG/PNG to DST: This is where auto-digitizing comes in. You import the image and use a tool like "Auto-Digitize" or "Image Trace." The software analyzes the pixels and makes its best guess at creating stitch fields, assigning satin stitches to outlines and fill stitches to larger areas.
Pros:
Control: You can edit the design after conversion—resize it, change colors, or fix errors.
All-in-One Solution: One software platform can handle both types of conversion and much more.
Quality (for PES): The conversion from one embroidery format to another is typically lossless and perfect.
Cons:
Cost: Good embroidery software is a significant investment, often costing hundreds of dollars.
Steep Learning Curve: Software like Hatch is powerful but requires time to learn effectively.
Unreliable for Images: Auto-digitizing results for JPEG/PNG files are often poor. The software can't interpret context, leading to clumsy stitch choices, a lack of underlay, and messy details.
Method 2: Using Online Conversion Services
Online converters offer a quick, software-free solution by automating the process in the cloud.
How it works: You upload your file to a website, select DST as your target format, and the website's servers process the file and provide a download link.
Best for: Someone who needs a one-off conversion, doesn't have software, and is working with a simple design.
The Process:
Websites like EmbroideryExchange.com or MyEditorOnline provide a straightforward upload interface. For PES files, the process is usually reliable. For image files, these sites use their own auto-digitizing algorithms, which vary widely in quality.
Pros:
No Software Required: You can do this on any device with a web browser.
Fast and Convenient: It’s quick for simple jobs.
Low Cost: Many offer a few free conversions or affordable pay-per-conversion pricing.
Cons:
Inconsistent Quality: Especially for image files, the results can be very poor. You have zero control over how the digitizing happens.
Privacy Concerns: You are uploading your (or your client's) intellectual property to a third-party server.
Limited Editing: You get what you get. If the conversion is bad, you have to start over or try another site.
File Size Limits: Most services restrict the size of the files you can upload.
Method 3: Professional Digitizing Services
This method outsources the conversion to a human expert.
How it works: You send your source file to a professional digitizer via their website. They manually digitize the design (if it's an image) or expertly convert and optimize it (if it's an embroidery file) and then email you the pristine DST file.
Best for: Businesses, professionals, and anyone who needs guaranteed, high-quality results for logos, complex designs, or production runs.
The Process:
This isn't automated. A skilled digitizer opens your file and uses their expertise to:
Plan stitch types and directions for the best visual effect.
Add proper underlay to prevent puckering and stabilize the fabric.
Set precise pull compensation to ensure shapes stitch out correctly.
Optimize the stitch path to minimize trims and thread changes, saving machine runtime.
Pros:
Highest Quality Results: You get a perfect, production-ready file that will stitch flawlessly.
Saves You Time: Frees you up to focus on running your machine and business.
Expertise: They handle complex designs, small text, and can advise on the best approach.
Cons:
Highest Cost: You pay for expertise, with prices based on stitch count.
Turnaround Time: You may have to wait a few hours to a day, unlike instant software conversion.
Which Method Works Best? A Quick Guide
Converting PES to DST:
Best Method: Dedicated Software. It's fast, accurate, and you retain an editable copy.
Good Alternative: Online Converter. For a simple PES file, a online tool can be a sufficient quick fix.
Converting JPEG/PNG to DST:
Best Method: Professional Digitizing Service. For any design that matters—especially a company logo—this is the only choice. The quality difference is night and day.
Risky Method: Software Auto-Digitize. Only use this for very simple, non-critical personal projects. Manage your expectations.
Not Recommended: Online Auto-Digitizing. The results are almost always disappointing and unusable for professional purposes.
Conclusion: Choose Your Path Wisely
Converting to the DST format is a common task, but your approach should be strategic. Remember the key distinction: converting from PES is translation, while converting from an image is creation.
For a reliable PES-to-DST translation, investing in software is your best bet for long-term control. For the critical task of turning a JPEG or PNG into a beautiful embroidered reality, there is no truly effective "button" to push. The auto-digitizing function, whether in software or online, is a flawed shortcut that often highlights the need for human skill.
For impeccable results that protect your reputation and your machine, the professional digitizing service remains the undisputed champion. It transforms your concept into a flawless technical reality, ensuring your design doesn't just exist as a DST file, but thrives as a perfect stitch.
