For many Aussie homeowners, the idea of paving during winter sounds like a shortcut to frustration—cold mornings, unpredictable rain, and tricky curing times. But here’s the surprising truth: with proper planning and the right materials, winter can be a highly effective season for paving projects, particularly if you're working with grey outdoor pavers, which offer both practical and aesthetic advantages all year round.
This guide walks you through why grey paver bricks are ideal for cold-weather landscaping, how to lay them effectively during winter, and common pitfalls to avoid. Whether you're tackling a full driveway revamp or simply upgrading a garden path, we’ll help you get it done right.
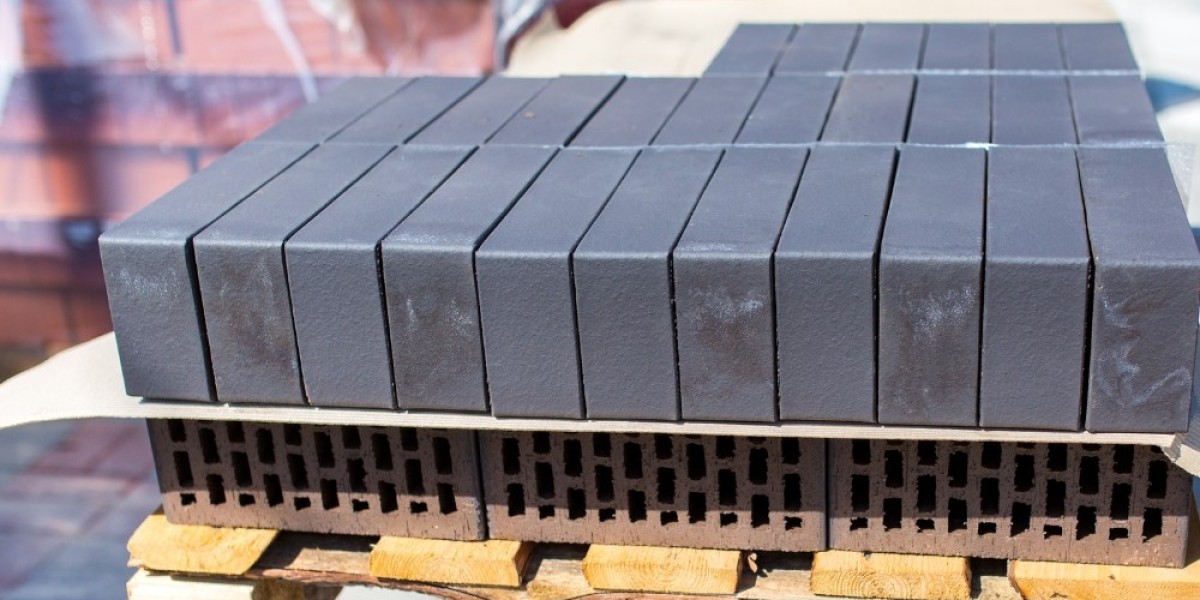
Why grey pavers make winter paving easier
Let’s start with the obvious: winter weather adds a layer of complexity to any outdoor job. But some materials are better suited to the season, and grey paver bricks are top of the list. I’ve laid them in backyards from Shellharbour to the Northern Beaches, and they always hold their own in the elements.
Here’s why they stand out:
Neutral colours absorb less heat, reducing the risk of cracks from thermal expansion and contraction.
Textured finishes improve grip, which is a must when you’re walking across frosty surfaces or wet paths.
Grey tones hide dirt better, so you won’t be scrubbing away leaf stains or tyre marks every week.
Better still, their clean, modern look complements just about any façade—from rendered townhouses to weatherboard classics. Whether you're redoing a narrow garden trail or a car-heavy front drive, grey pavers are a solid bet.
Key factors for winter paving success
Paving in winter is less about speed and more about precision. Conditions are less forgiving, so a well-prepared site and proper installation are essential. Let’s break down the most important steps to get the job done properly.
1. Start with ground prep
This is the foundation of any good paving job. But in winter, it's even more critical to ensure your sub-base is solid and stable.
Excavate to at least 150mm below your desired finish height
Compact the natural ground with a vibrating plate or roller
Lay and compact a 100mm layer of road base
Screed a 25–30mm layer of sharp sand or bedding material
Moisture management is also vital. Excess water can cause slumping and movement under pavers, so it’s worth grading the sub-base slightly away from structures to encourage proper runoff.
2. Time your work smartly
When we installed a backyard path in Camden last July, we made sure to check the forecast closely. Cold snaps and frost can delay curing and compromise bond strength.
Avoid laying pavers:
On frozen or overly wet ground
During rain or frost
When daytime temps drop below 5°C
If the sun’s out, try working in morning windows before afternoon dew sets in.
3. Check local paving regulations
Before pouring that base or selecting your finish, make sure your work meets council guidelines—especially for driveways or paved areas near the boundary.
The driveway paving regulations in NSW specify requirements for gradient, surface type, width, and kerb access. Ignoring them can lead to compliance issues, fines, or even mandated removal—costing you thousands down the line.
If you're uncertain, contact your local council or hire a qualified paving contractor who’s across these rules.
Choosing the right grey pavers for your job
Not all pavers are winter-proof. Choosing the right product is critical, especially for projects exposed to the elements.

Need help making that call? See our internal resource on how to choose paving materials for an in-depth breakdown.
Paving patterns that hold up in wet conditions
Laying pattern plays a surprisingly big role in long-term performance, especially when it comes to resisting movement from cars or heavy rainfall.
The most winter-friendly option? Herringbone.
Why it's a standout:
Superior interlocking strength
Minimises lateral shift
Excellent for load-bearing surfaces
For low-traffic zones like patios or alfresco areas, basket weave and stretcher bond also perform well. Just remember that simpler patterns can sometimes highlight imperfections if your base isn’t dead flat.
Maintenance hacks for long-lasting grey pavers
Once your paving is down, the job isn’t over. Keeping it clean and protected will ensure it stays looking good and performing well for years to come.
Here are a few quick maintenance tips that go a long way:
Seal your pavers: Apply a breathable, weather-rated sealant 2–4 weeks after installation to protect against stains and mould.
Clean surfaces regularly: Sweep away organic debris to prevent discolouration or slipperiness.
Inspect your joints: If sand or grout is missing, top it up before water seeps underneath.
Watch your drainage: Ensure downpipes and stormwater outlets aren't pooling water near your paving.
And steer clear of harsh de-icing chemicals in frosty areas—they may damage the paver’s surface layer over time.
Common winter paving mistakes to avoid
Even experienced tradies can trip up during winter jobs. Based on what I’ve seen in the field, here are four of the biggest risks:
Skipping compaction: Leads to sinking and trip hazards.
Using incorrect bedding materials: Wet or soft sand won’t hold shape.
Poor runoff planning: Causes surface water and damage to adjoining structures.
Laying during wet or freezing days: Weakens bond strength and affects curing.
Want more hands-on tips? Don’t miss winter paving tips that can help you plan around the season’s quirks.
Final thoughts
Winter paving isn’t for the impatient, but it can be done well. You’ll often get more contractor availability, less competition for materials, and a finished product that’s ready to enjoy by spring.
The secret? Work smart, not fast. Choose cold-weather-friendly materials like grey bricks early, prep your base like a pro, and keep an eye on the forecast. From driveways to garden paths, these pavers are up for the challenge—rain, frost, or shine.