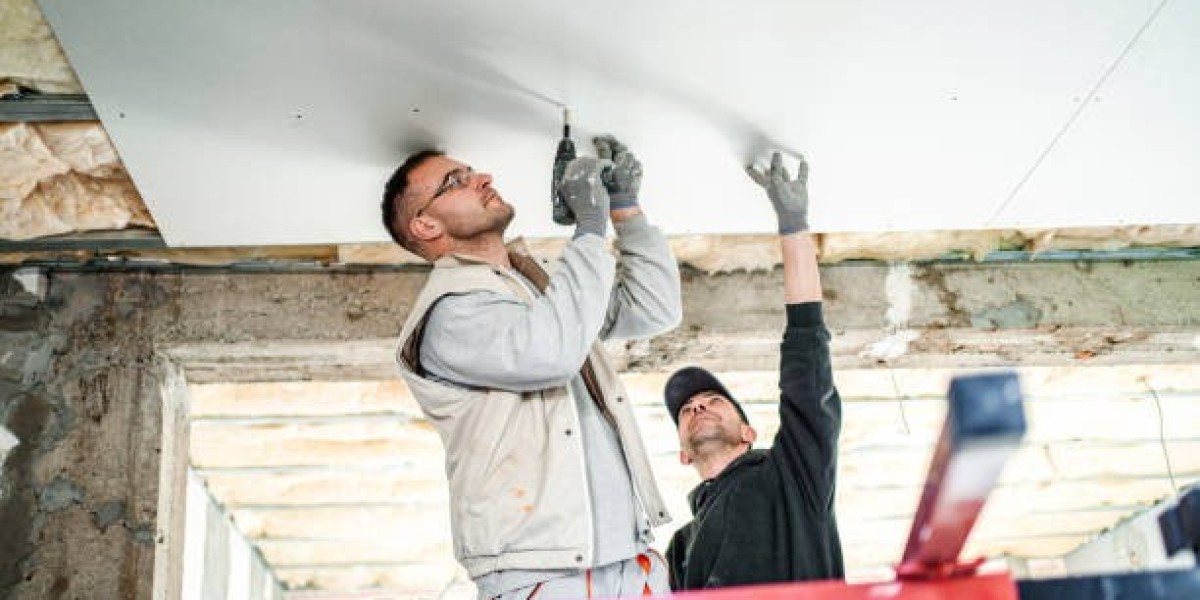
Drywall installation is an essential part of home construction and renovation, serving as the foundation for smooth, clean walls and ceilings. However, achieving a flawless drywall finish involves much more than simply hanging sheets of drywall. Proper installation, taping, mudding, sanding, and priming are crucial steps in ensuring that your drywall looks seamless and professional. Whether you are a DIY enthusiast or hiring experts for drywall installation services, this guide will provide you with 10 essential tips to achieve a flawless drywall finish that enhances the beauty of your home.
1. Start with Proper Installation
The key to a flawless drywall finish begins with proper installation. Before you even think about taping or mudding, ensure that the drywall is installed correctly. Make sure the drywall sheets are aligned properly and the seams are tight. Gaps between sheets or crooked cuts can cause issues later on in the finishing process. Use a level to ensure that the drywall is straight and secure. A proper installation minimizes the amount of patching and sanding required during the finishing stages.
If you are new to drywall installation, hiring professional drywall installation services can be a smart move to ensure that everything is done right from the beginning.
2. Use the Right Tools
Using the right tools is essential for achieving a smooth and flawless drywall finish. Make sure you have a drywall knife, taping knife, mud pan, sanding block or pole sander, and a utility knife. For larger projects, an electric sander can help speed up the sanding process, but always be careful not to over-sand or gouge the surface. The right tools, combined with technique, will make the job more efficient and lead to better results.
Additionally, consider using a corner tool for inside corners, which will help create sharp, even lines without excess mud buildup.
3. Apply the Right Amount of Joint Compound
When taping and mudding drywall seams, it’s important to apply the right amount of joint compound (also known as mud). Too much compound can create lumps, while too little can result in visible seams. Apply a thin, even layer over the seams, and use your taping knife to smooth it out. After the first layer dries, apply additional coats as necessary. Typically, two to three coats are needed to achieve a smooth, flawless finish.
Ensure that the compound is spread evenly to avoid any high spots, which will need to be sanded down later.
4. Use Quality Taping and Mudding Techniques
Taping the seams properly is just as important as the mudding process. Use drywall tape (paper or fiberglass) to cover the seams, ensuring that it is applied straight and without wrinkles. Once the tape is in place, apply a layer of joint compound over it, ensuring that the tape is fully embedded. Use your taping knife to smooth the compound, feathering the edges to blend seamlessly with the drywall surface.
For best results, avoid overloading the tape with mud, as this can create thick seams. Instead, apply thin, even layers of compound, allowing each coat to dry completely before applying the next.
5. Sand Between Coats
Sanding is a crucial step in achieving a smooth, professional-looking drywall finish. After each layer of joint compound has dried, use a fine-grit sanding block to smooth out the surface. Be careful not to over-sand, as this can create dips in the drywall that will need to be patched. Sanding should be done lightly and evenly, just enough to remove any ridges or imperfections.
If you’re using an electric sander, use a fine-grit sanding pad to avoid damaging the drywall. Always wear a mask to protect yourself from drywall dust, which can be harmful when inhaled.
6. Feather the Edges
One of the most important techniques for achieving a flawless drywall finish is feathering the edges. When applying joint compound, make sure to feather the edges of each layer, gradually blending the compound into the surrounding wall. Feathering creates a smooth transition from the compound to the drywall, making seams and joints virtually invisible.
Use your taping knife to smooth the compound in long strokes, working from the center of the seam outward. This technique minimizes the appearance of ridges or “lip” marks along the seams.
7. Don’t Skip the Primer
Before painting, it’s important to apply a primer to the drywall. Primer helps seal the surface and creates a smooth, even base for the paint to adhere to. It also helps to reduce the chances of visible seams or drywall imperfections showing through the paint. Use a high-quality drywall primer for the best results.
When applying primer, make sure it’s evenly distributed, and allow it to dry completely before moving on to painting. If necessary, apply a second coat of primer to ensure full coverage.
8. Work in a Well-Lit Area
Lighting is critical when working on drywall finishing. Poor lighting can make it difficult to spot imperfections, such as high spots or uneven seams. When taping, mudding, and sanding, make sure you are working in a well-lit area. Natural daylight is the best option, but if you’re working indoors, use high-quality work lights to illuminate the surface.
When sanding, move your light source around to check for areas that may need additional attention. Sometimes, a slight angle of light can reveal areas that need to be smoothed out or patched.
9. Clean the Surface Before Painting
Once you’ve finished sanding and priming, it’s essential to clean the drywall surface before painting. Drywall dust can accumulate on the surface, and if it’s not removed, it can cause imperfections in the paint. Use a damp cloth or sponge to wipe down the surface and remove any dust or debris. Allow the surface to dry completely before applying your paint.
Cleaning the drywall surface ensures that the paint adheres properly and provides a smooth, flawless finish.
10. Consider Professional Drywall Installation Services
If you want a truly flawless finish and are not confident in your drywall skills, consider hiring professional drywall installation services. Experts have years of experience in drywall installation, taping, mudding, and finishing, which ensures that the job will be done efficiently and to the highest standards. Professional drywall finishers can help avoid common mistakes, such as uneven seams, excess compound, or poorly feathered edges.
Additionally, hiring professionals can save you time and effort, allowing you to focus on other aspects of your home renovation project.
Conclusion
Achieving a flawless drywall finish requires patience, attention to detail, and the right techniques. By following these 10 tips—starting with proper installation, using the right tools, applying the right amount of joint compound, and sanding between coats—you can create a smooth, professional-looking drywall surface. Whether you are tackling the project yourself or enlisting the help of drywall installation services, these tips will help you get the best results possible.
A well-finished drywall surface provides the perfect foundation for painting, wallpapering, or other home decor elements, enhancing the overall aesthetic of your space. So, whether you're tackling a DIY project or hiring professionals, invest the time and effort necessary to ensure that your drywall finish is nothing short of flawless.


