A properly functioning heater is essential for maintaining a warm and comfortable home during colder months. Regular Heater cleaning ensures efficiency, improves air quality, extends the lifespan of the unit, and prevents costly repairs. Over time, dust, dirt, and debris can accumulate inside the heating system, causing reduced performance and potential safety hazards. In this guide, we will explore the importance of heater cleaning, step-by-step DIY cleaning tips, the benefits of professional services, and best practices for heater maintenance.
Why Heater Cleaning is Important
1. Improves Energy Efficiency
A clean heater runs more efficiently, consuming less energy to provide the desired warmth. Dust and dirt buildup can restrict airflow and force the system to work harder, leading to higher energy bills.
2. Enhances Indoor Air Quality
Dirt, pet dander, and allergens can accumulate in your heating system and be circulated throughout your home. Regular cleaning helps improve indoor air quality, reducing allergy and respiratory issues.
3. Prevents Unexpected Breakdowns
A dirty heater is more prone to overheating and component failures. Cleaning it regularly prevents costly emergency repairs and ensures it runs smoothly throughout the winter.
4. Extends Heater Lifespan
Proper maintenance, including regular cleaning, can add years to the life of your heating system. A neglected system wears out faster due to increased strain on its components.
5. Ensures Safety
Dust and debris buildup can cause overheating, which increases the risk of fire. Gas heaters may also develop clogs in the burner, leading to incomplete combustion and carbon monoxide emissions.
Signs Your Heater Needs Cleaning
Increased energy bills despite normal usage
Weak airflow from vents
Unusual burning smell when the heater is turned on
Excessive dust around vents and registers
Heater making strange noises, such as rattling or banging
Furnace cycling on and off frequently
Yellow or flickering burner flame (instead of blue)
DIY Heater Cleaning: Step-by-Step Guide
While a professional cleaning is recommended for thorough maintenance, homeowners can perform basic cleaning tasks to keep their heater in top shape. Follow these steps to clean your heater safely:
Step 1: Turn Off the Power
Before cleaning, turn off the heater’s power supply at the circuit breaker. If you have a gas heater, turn off the gas supply as well.
Step 2: Clean or Replace the Air Filter
A clogged air filter restricts airflow and reduces efficiency. Check your filter every month and replace it every 1-3 months, depending on usage and air quality.
Step 3: Vacuum Dust and Debris
Use a vacuum cleaner with a brush attachment to remove dust from the heater’s exterior, vents, and ducts. Be sure to clean around the blower motor and fan blades if accessible.
Step 4: Clean the Heater Vents
Remove vent covers and wipe them with a damp cloth. Use a vacuum to remove dust and debris from inside the ducts.
Step 5: Check and Clean the Blower Assembly
For furnaces and forced-air heaters, remove the blower compartment cover and gently clean the blower blades with a soft brush or vacuum.
Step 6: Inspect the Burners (For Gas Heaters)
If you have a gas heater, check the burners for dirt and rust. A small brush or compressed air can be used to remove debris from the burners.
Step 7: Wipe Down the Interior Components
Use a soft, dry cloth to wipe down the internal parts of the heater. Avoid using water or harsh chemicals, as they may damage sensitive components.
Step 8: Reassemble and Test the Heater
Once everything is clean and secure, restore power and turn on the heater. Observe its operation for any unusual noises or issues.
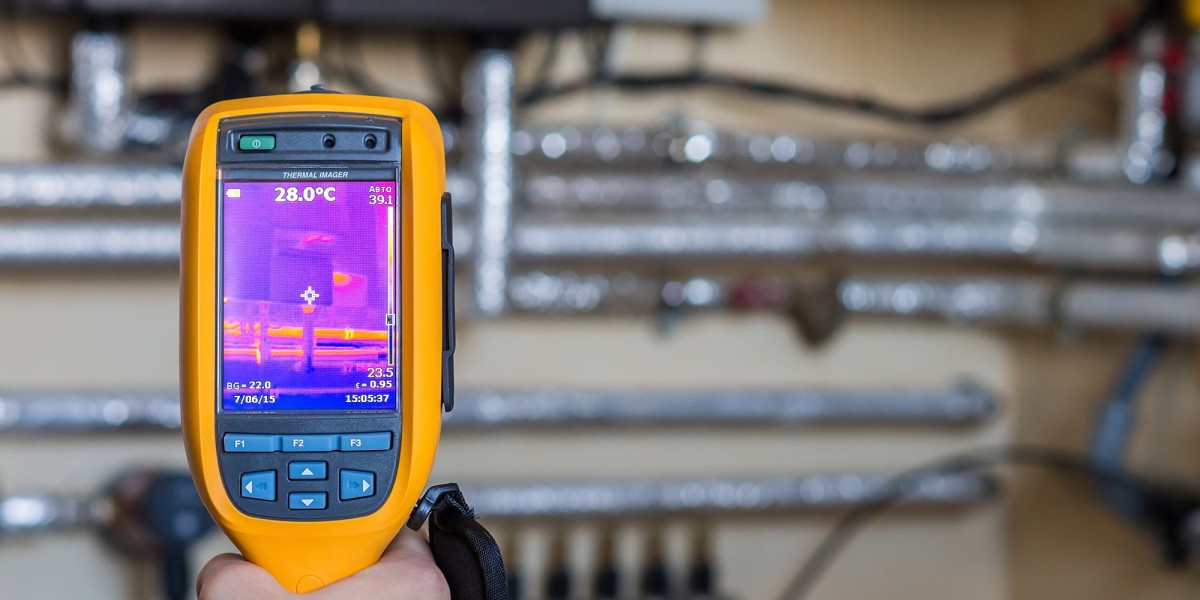
Professional Heater Cleaning Services
Local heating installation helps maintain efficiency, professional cleaning ensures a deeper, more thorough maintenance. A certified technician can clean areas that are difficult to access and inspect components for potential issues.
What Professionals Do:
Inspect and clean internal components
Check for gas leaks and carbon monoxide emissions
Test airflow and thermostat calibration
Lubricate moving parts to reduce wear and tear
Conduct safety checks to prevent hazards
How Often Should You Schedule Professional Cleaning?
It’s recommended to have your heater professionally cleaned and inspected at least once a year, preferably before the heating season starts.
Maintenance Tips to Keep Your Heater Clean and Efficient
1. Change Filters Regularly
A clean air filter improves airflow and efficiency. Replace it every 1-3 months, or as recommended by the manufacturer.
2. Keep the Area Around the Heater Clean
Ensure there are no flammable materials, dust, or debris near the heater to reduce fire hazards.
3. Monitor Thermostat Performance
If your heater struggles to maintain the desired temperature, the thermostat may need recalibration or replacement.
4. Listen for Unusual Noises
Strange sounds can indicate mechanical issues. Addressing minor problems early prevents expensive repairs.
5. Schedule Annual Inspections
An annual professional inspection helps detect potential issues before they lead to breakdowns.
Heater cleaning is essential for maintaining an efficient, safe, and long-lasting heating system. Regular maintenance improves energy efficiency, enhances indoor air quality, and prevents costly repairs. While homeowners can perform basic cleaning tasks, professional heater cleaning ensures optimal performance. By following these best practices, you can enjoy a warm and comfortable home throughout the winter while keeping your heating system in peak condition.