How to Connect Your Scanner Wirelessly: A Step-by-Step Guide
Connecting your scanner wirelessly can simplify your workflow by allowing you to scan documents directly to your computer, smartphone, or cloud service without dealing with cables. Whether you’re setting up a home office or improving your business’s efficiency, wireless scanning is a must-have feature.
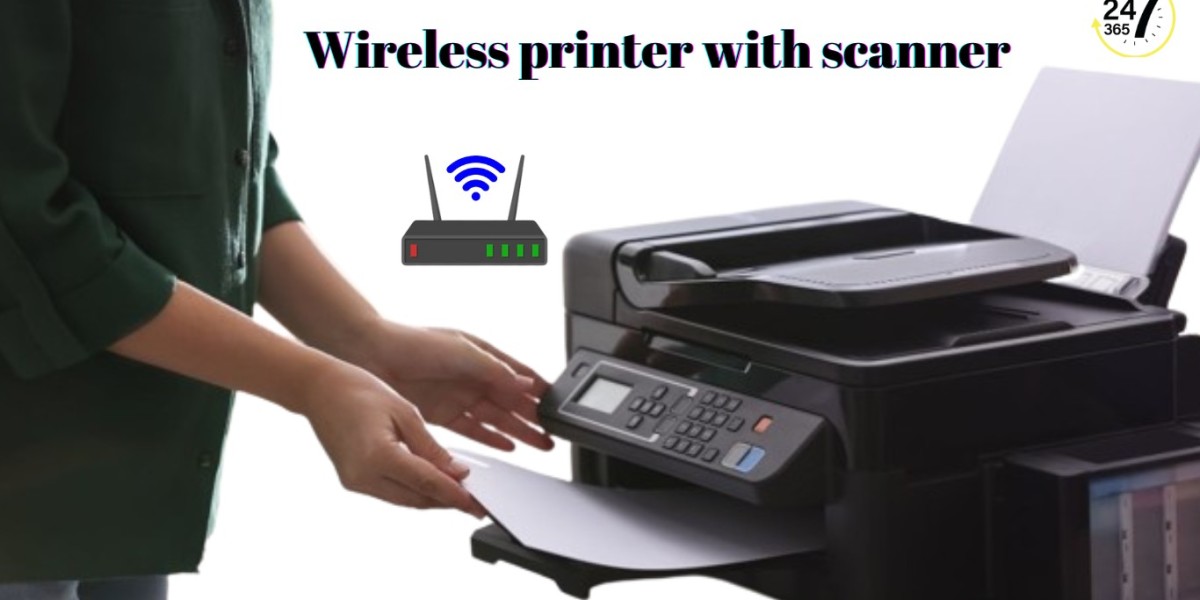
In this guide, we’ll walk you through the steps to connect your scanner wirelessly, troubleshoot common issues, and ensure that your device works seamlessly with your network. By the end of this article, you’ll have a fully functioning wireless printer with scanner setup.
Step 1: Connect Your Scanner to Wi-Fi
Before you can scan wirelessly, your scanner must be connected to the same Wi-Fi network as your computer or mobile device.
- Power on your scanner and ensure Wi-Fi functionality is enabled.
- Access the scanner’s control panel and navigate to Wi-Fi Settings.
- Select your Wi-Fi network and enter the correct password.
- If your scanner supports WPS (Wi-Fi Protected Setup), you can press the WPS button on your router and connect the scanner automatically.
- Once connected, check the scanner’s display or manual for confirmation.
Step 2: Install Scanner Software & Drivers
To ensure smooth operation, download and install the latest drivers and scanning software from the manufacturer’s website (e.g., HP, Epson, Canon, Brother).
- Visit the official support website of your scanner brand.
- Enter your scanner model and download the appropriate wireless setup software.
- Follow the on-screen instructions to complete the installation.
Step 3: Add Scanner to Your Computer
For Windows Users:
- Open Settings (
Win + I) and go to Devices > Printers & scanners. - Click Add a printer or scanner and wait for your scanner to appear.
- Select your scanner and click Add device.
For macOS Users:
- Go to System Settings > Printers & Scanners.
- Click + (Add Printer, Scanner, or Fax) and select your scanner from the list.
- Follow the prompts to install it.
Step 4: Test Your Wireless Scanner
- Open a scanning application such as Windows Fax and Scan, HP Smart, or Epson Scan.
- Load a document into the scanner and initiate a scan.
- If the scan completes successfully, your scanner is ready for wireless use!
Final Tips
- Ensure your scanner and computer are on the same Wi-Fi network.
- Restart the scanner and router if connection issues arise.
- Keep your scanner’s firmware and drivers updated for better performance.
By following these steps, you can enjoy the flexibility and convenience of wireless scanning from anywhere in your home or office. ?