When tackling any home renovation or electrical upgrade, one critical component often goes unnoticed: the electrical box. It may be small and hidden behind switches or outlets, but it's one of the most important parts of your home’s electrical system.
What Is an Electrical Box?
An electrical box is a protective container used to house electrical connections such as outlets, light switches, fixtures, and junctions. These boxes keep wiring secure, shielded from accidental contact, and protected from fire risks caused by sparks or short circuits. Whether mounted in the wall, ceiling, or outdoors, they serve as the physical framework for nearly every wired electrical device in your home.
Why It Matters: Function and Safety
Many homeowners underestimate how essential it is to choose the right type and install it correctly. Electrical boxes don’t just hold wiring—they ensure:
Code compliance with local building regulations
Structural stability for lighting fixtures and outlets
Fire prevention by containing sparks or overheating
Safe maintenance by making connections accessible
Neglecting proper use or installation can lead to overheating, loose wiring, or even electrical fires.
Common Types of Electrical Boxes
Understanding the different types of boxes helps you pick the right one for your specific application. Here are the most common:
1. Standard Wall Boxes
Used behind light switches and electrical outlets, these are typically either plastic or metal and come in single-, double-, or triple-gang sizes depending on the number of devices.
2. Ceiling Electrical Boxes
These are stronger and often deeper than wall boxes, especially when designed to hold heavier light fixtures or ceiling fans. Make sure any ceiling fan box is fan-rated.
3. Junction Boxes
Used for connecting multiple wires that aren’t directly attached to a fixture. These are essential in attic wiring or anywhere splices must be contained for safety.
4. Outdoor or Weatherproof Boxes
These boxes come with sealed gaskets and watertight lids, designed to resist moisture and outdoor elements. They're ideal for patios, decks, and external walls.
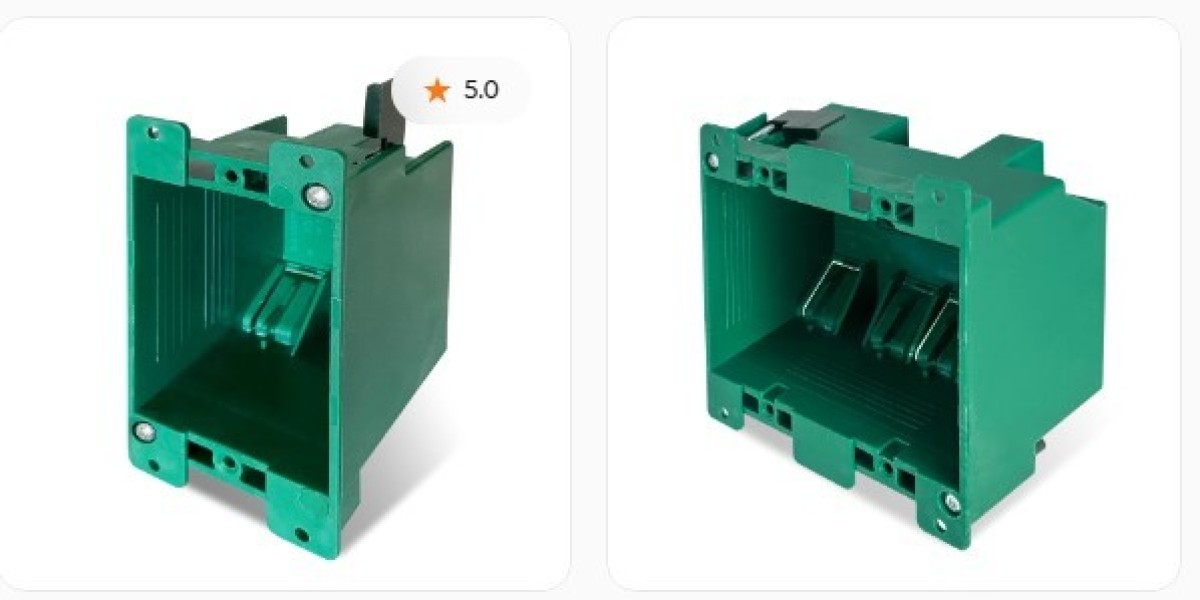
5. Old Work and New Work Boxes
New work boxes are installed before drywall goes up in new construction.
Old work boxes are retrofit boxes for existing walls, often secured by wings or clamps.
Materials: Plastic vs. Metal Electrical Boxes
Electrical boxes are typically made from either PVC (plastic) or metal, each with specific benefits:
Plastic boxes are easier to install, cost-effective, non-conductive, and suitable for most residential applications.
Metal boxes offer superior durability and grounding but are more suited for commercial or industrial spaces, or where metal conduit is used.
Choose based on the cable type, fixture load, and required grounding method.
Sizing the Electrical Box Correctly
Overcrowding a box with too many wires or devices is not only inconvenient—it’s a fire hazard. Box fill capacity is calculated based on wire size and the number of conductors, devices, and clamps inside.
As a general guide:
18 cubic inches for a single gang with a switch or outlet
22–25 cubic inches for larger combinations or more conductors
Check local code or use online box fill calculators when in doubt.
How to Install an Electrical Box (Safely)
Tools You’ll Need:
Screwdriver or drill
Level
Wire stripper
Voltage tester
Fish tape (for retrofit wiring)
Basic Steps:
Turn off power at the breaker. Always verify with a voltage tester.
Mark the location where the box will go. Use a template for accuracy.
Cut out the wall opening if using an old work box.
Run electrical cable through the box knockouts or clamps.
Mount the box securely—screwed to studs (new work) or clamped in place (old work).
Pull excess wire into the box and prepare for connections.
Tip:
Ensure the front edge of the box is flush with the finished wall surface. Boxes mounted too deep or too shallow violate code and compromise safety.
Electrical Box Placement Tips
Place outlets 12–18 inches from the floor, depending on local norms.
Switches are usually 48 inches from the floor.
Leave at least 6 inches of wire protruding from the box for connections.
Avoid mounting directly opposite plumbing lines inside walls.
Troubleshooting and Upgrading Old Boxes
If your existing boxes are:
Loose: They may not support modern fixtures safely. Replace with more secure models.
Overcrowded: Upgrade to a deeper box or install a second one.
Metal boxes without grounding screws: Add one or switch to grounded plastic.
Painted over: Remove any paint obstructing the screw holes or box edges.
Upgrading your boxes during a remodel is one of the simplest ways to boost safety without extensive rewiring.
When to Call an Electrician
DIY is acceptable for simple tasks like adding an outlet or replacing a light fixture. However, call a licensed electrician if:
You’re unsure about code compliance.
You're working near water or outdoors.
There are more than three cables or unfamiliar colored wires inside the box.
You're installing a heavy fixture like a fan that requires reinforcement.
Conclusion
The electrical box may be small, but it plays a huge role in keeping your home powered safely and efficiently. Choosing the right one—and installing it properly—helps prevent future hazards, supports your fixtures, and keeps your electrical system compliant with safety codes.